📺 PiTrex - The coolest Card for the Vectrex!
The PiTrex cartridge connects a Raspberry Pi Zero with a Vectrex. It is a cartridge that allows to run programs and games on the Raspberry Pi which can use the Vectrex as a vector monitor and use the vectrex controller as the input device. But for what is that good for? Well, first and foremost this combination allows you to write completely different calibers of games. As a developer you can use the cpu power and memory of the Pi, while the Vectrex brings in his capabilities to display vector graphics. If you ever written games for Vectrex, you will know that’s a game changer. Native programs on the Vectrex have always the challenge that you have just a few numbers of cycles per frame available for your own code. Most of the time is used for displaying the graphics. Complex programs and games are not possible like that. The other challenge is the RAM you have available for your program. It’s 1024 Bytes! Yes BYTES, not kilo-bytes or megabytes or even giga-bytes as in today’s machines. In comparison to that, the Raspberry Pi Zero is a beast :
- 64-Bit ARM CPU (vs. 6809 8-Bit CPU)
- 512MB (vs. 1024 bytes)
- 1 GHz Cpu (vs. 1.5 MhZ)
- PLUS: Wireless Connectivity
For who is the PiTrex?
At the moment the PiTrex is a device intended for developers. Many software is still in progress or missing. Also you need to have an idea on how a Raspberry Pi with it’s Linux-like OS works. But this will change in future and end-users will be able to just plug & play and use the PiTrex. If you can’t wait for that moment, you don’t have to and I can just suggest everyone to get a PiTrex even now. It’s without any doubt the coolest hardware extension ever and also it “converts” the vectrex into a completely different machine. And don’t worry, the installation and setup is not too complicated …
What you need
To use the PiTrex you need:
- The PiTrex card itself (Order here)
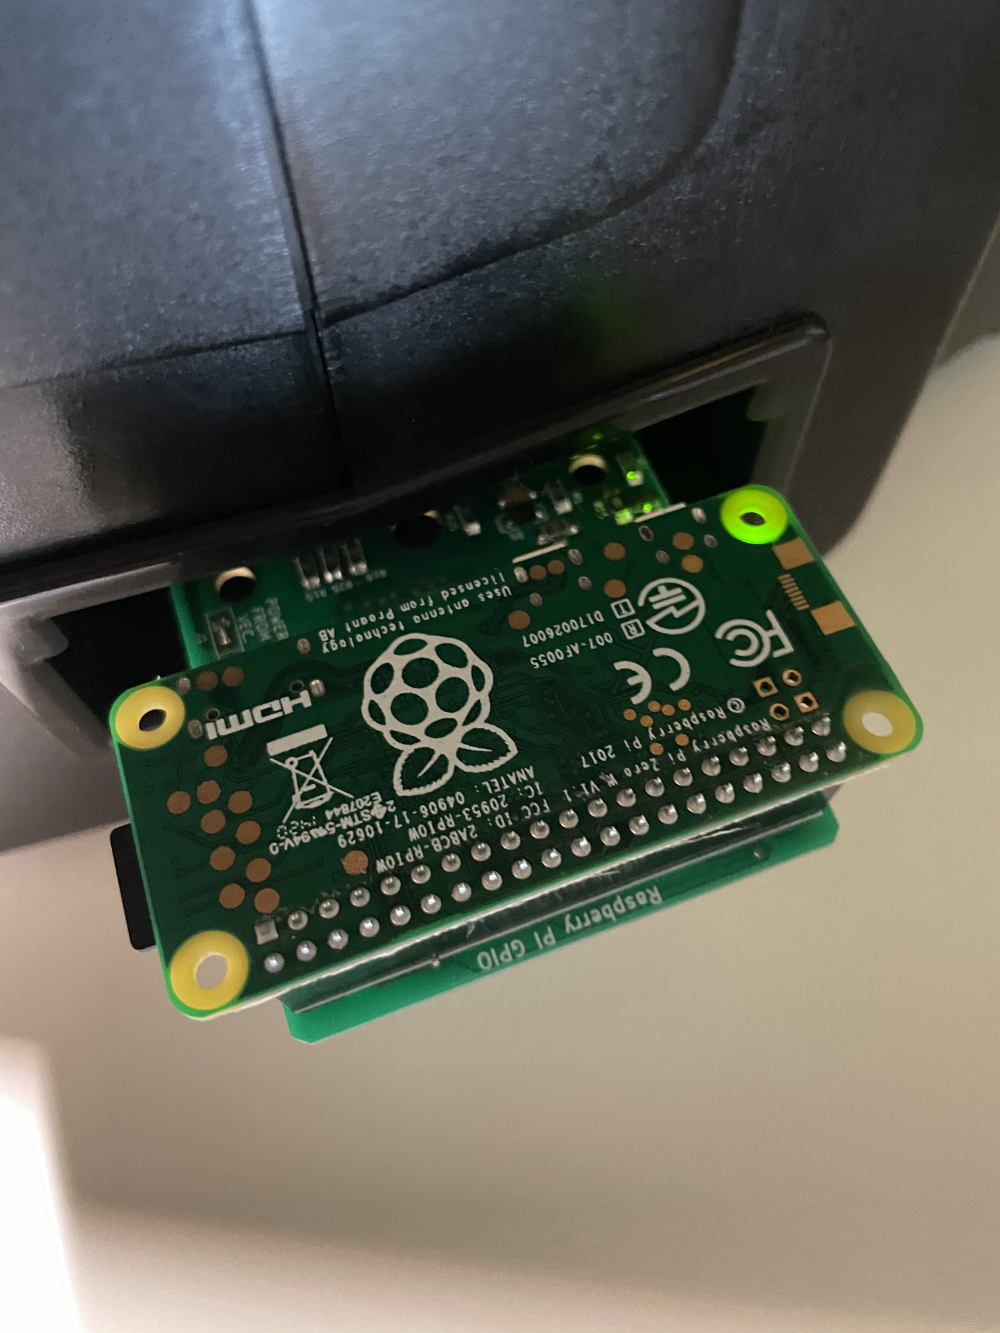
- A Raspberry Pi Zero WH (Take the WH model to save time and even money)
- An SD card writer/reader
- An SD card of minimum 8GB (Take better a minimum of 32GB to also have enough space for ROMS etc.)
- And of a course a Vectrex
If you have all that, you’re ready to go!
How to install?
Install the SD Card
First connect your SD card reader and insert the card. To continue you need to know the device number. This can be easily find out with the command:
diskutil list
It’s most of time the last card in the list (in my case and in this example #3). If your SD card has a different number replace it in the script below. To use the piTrex later it’s also needed to connect it to your Wifi. This is also all handled by the script. Just replace
- NETWORK-NAME with the name of your WiFi Network
- NETWORK-PASSWORD with the password you use for the WiFi network
curl -o pitrex8gb.zip http://classicscoder.com/downloads/pitrex8gb.zip
unzip pitrex8gb.zip
diskutil unmountDisk /dev/disk3
sudo dd bs=1m if=pitrex8gb.img of=/dev/disk3
touch /Volumes/boot/ssh
touch /Volumes/boot/wpa_supplicant.conf
echo 'country=US' >> /Volumes/boot/wpa_supplicant.conf
echo 'ctrl_interface=DIR=/var/run/wpa_supplicant GROUP=netdev' >> /Volumes/boot/wpa_supplicant.conf
echo 'update_config=1' >> /Volumes/boot/wpa_supplicant.conf
echo '' >> /Volumes/boot/wpa_supplicant.conf
echo 'network={' >> /Volumes/boot/wpa_supplicant.conf
echo '    ssid="NETWORK-NAME"'>> /Volumes/boot/wpa_supplicant.conf
echo '    psk="NETWORK-PASSWORD"' >> /Volumes/boot/wpa_supplicant.conf
echo '}' >> /Volumes/boot/wpa_supplicant.conf
echo 'Dont forget to set NETWORK-NAME and NETWORK-PASSWORD in /Volumes/boot/wpa_supplicant.conf'
echo 'After unmount sd card by using: diskutil eject /dev/disk3'
After the script is finished (this may take some minutes) you eject the SD card with the command
diskutil eject /dev/disk3
That was already the “hard” part, now to the fun part :)
Setup the PiTrex
In this article I assume that you have already connected the RaspPi to the PiTrex card and plugged in to the Vectrex
After you start the Vectrex the screen will remain black and the RaspPi needs it’s time to start up. When it stops blinking it should be ready and you can use the Terminal window now to connect to your RaspPi:
ssh-keygen -R raspberrypi.local
ssh pi@raspberrypi.local
If all was going well you should now see the RaspPi asking for the password. It’s initially pitrex. The SD card comes with all pre-installed but it’s most probably not the newest version. So it’s always save to get the newest version from GitHub and build all.
sudo apt-get update
sudo apt-get install -y gcc-arm-none-eabi git-core libsdl2-dev libsdl2-2.0 libsdl2-
mixer-2.0-0 libsdl2-mixer-dev alsa-oss locate
mkdir ~/src
cd ~/src
git clone https://github.com/gtoal/pitrex.git
cd ~/src/pitrex
sudo cp pitrex-config.sh /boot/
make clean all -f Makefile.raspbian
Note: You will see some errors regarding Tailgunner and Asteroids. For now you can ignore them. We take care on this later
When all is compiled, linked and installed you have to use one last script by enter:
sudo /boot/pitrex-config.sh
You get asked at the end if you want to disable HDMI. Answer with YES and it’s all done. After the installation it’s safe to shutdown the RaspPi
$ sudo shutdown -h 0
and switch off and on again the Vectrex to restart it.
Now you’re ready to see the first game in action.
Login again to the Vectrex with
ssh pi@raspberrypi.local
enter the password and start the first game with
sudo ~/src/pitrex/gyrocks/gyrocks
Honors
This awesome project is founded, initiated and mainly driven by 4 people that had the idea, realised the hardware and created the libraries needed. It’s Graham Toal, Kevin Koster, James Churchill and Malban.
KUDOS for creating this awesome project and make it even open source and reachable for everyone interested. You’re guys are heroes for me!
What’s next?
After successfully installed and setup the PiTrex, the next chapter is about How to create your own games or programs for the PiTrex! Until then, have fun!
Links